
Happy Wednesday Friends!
How was your Valentine’s Day? I hope you were able to enjoy the day surrounded by your loved ones. I am currently recovering from a surgery I had on Monday. My focus this week is on allowing myself the time to slow down and heal.
I wanted to pop in and share how I styled my dining room shelves using vintage items and my favorite formula for decorating. Awhile back I shared this office area of our basement. In the post I shared the formula I use when putting together most areas of our home.
Colorful vintage item(s) + a white or neutral item(s) + a wood tone item(s)
I also tend to put together an area by adding the items in groups of three.

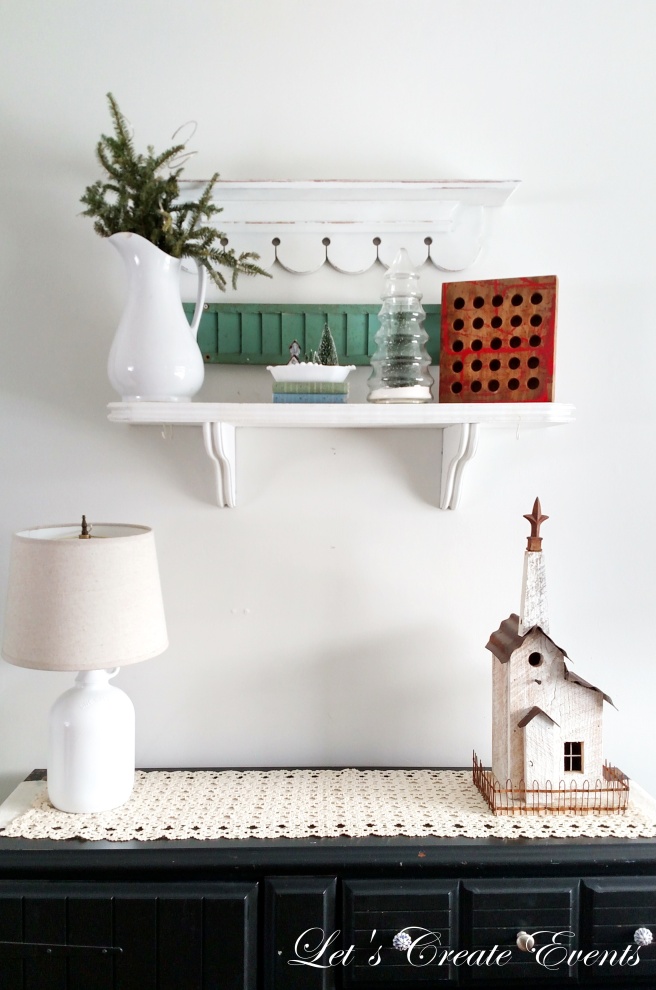
This is was the starting point for my shelving area in my dining room. I added my first set of three items by adding the two shelves and the vintage time card slot. I loved the color of the time slot and thought it would be a fun piece to add. After adding the first three items, my next step was to pull the buffet together with the shelves by adding a light-colored table runner.

Once I anchored the buffet to the shelves by adding the table runner, my next step was to add function to the area. I did this by first adding the jug lamp. As I shared above for consistency I typically add items in groups of three.

Taking a cue from the height of the lamp I added two other items with a similar height and color.
The next three items I choose to add were one vintage wood item, the book stack which adds a little color, and the neutral glass tree. The weight of the three items balances this side of the shelf with the height of the white pitcher.
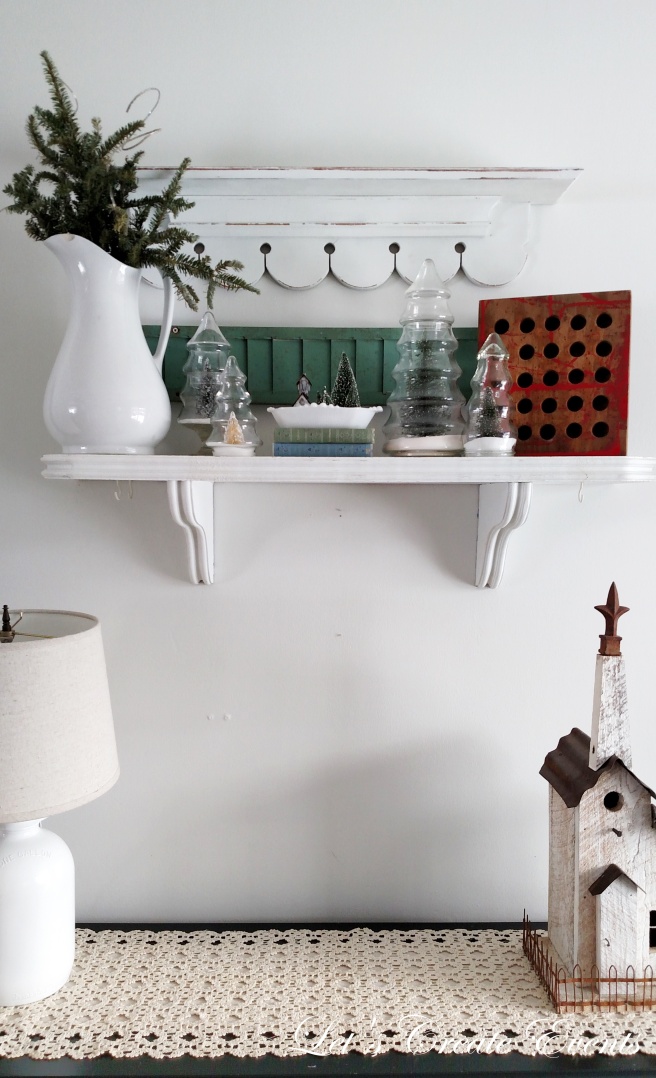
I then filled in the remaining area of the shelf with three more glass trees.

Looking at the shelf you can see it is again balanced with items of three. The left side is balanced with the white pitcher & two trees, the middle is balanced with the stack of three items, and the right side is balanced with two trees and the vintage wood item.
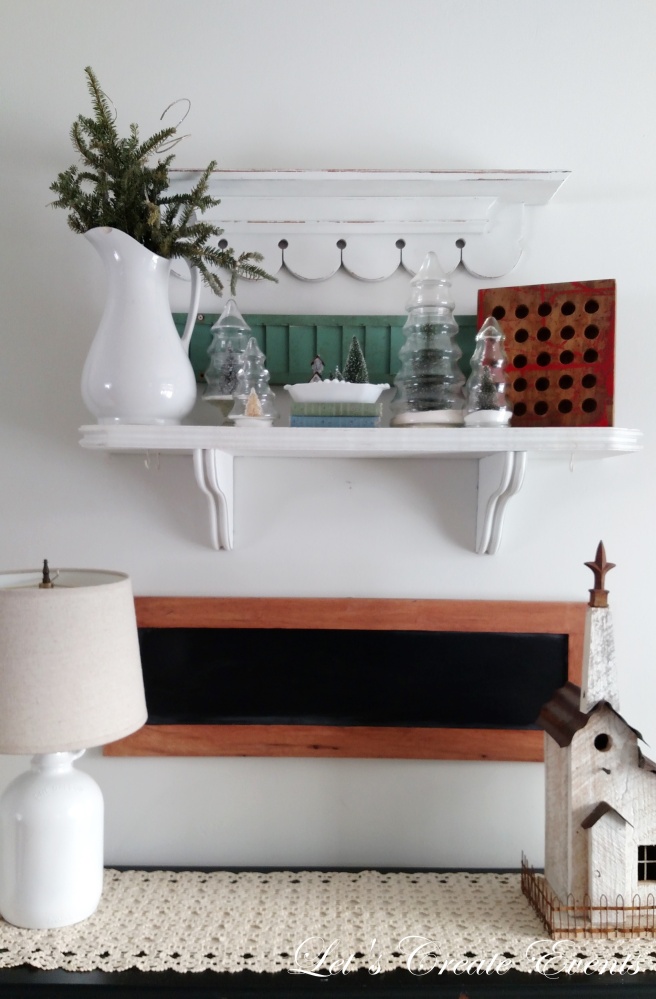
The next step was to add the second wood tone item. I added a chalkboard to fill the space between the buffet and first shelf.
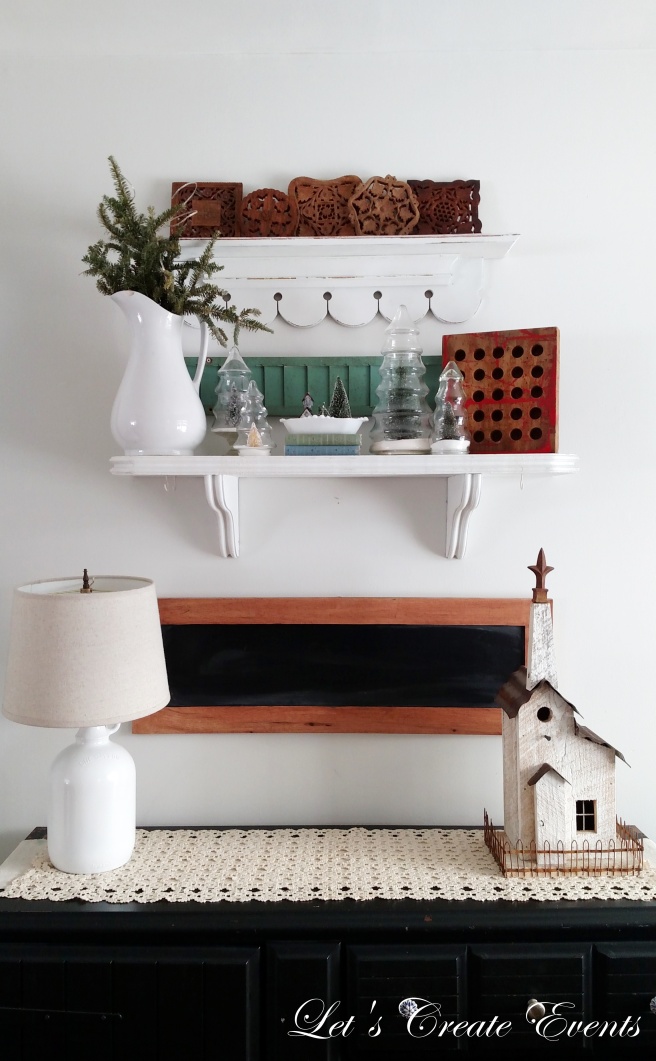
I then added the third wood tone item to the space by putting my collection of wooden trivets on the top shelf. As you can see, I now have three wood tone items that help balance the area from top to bottom.
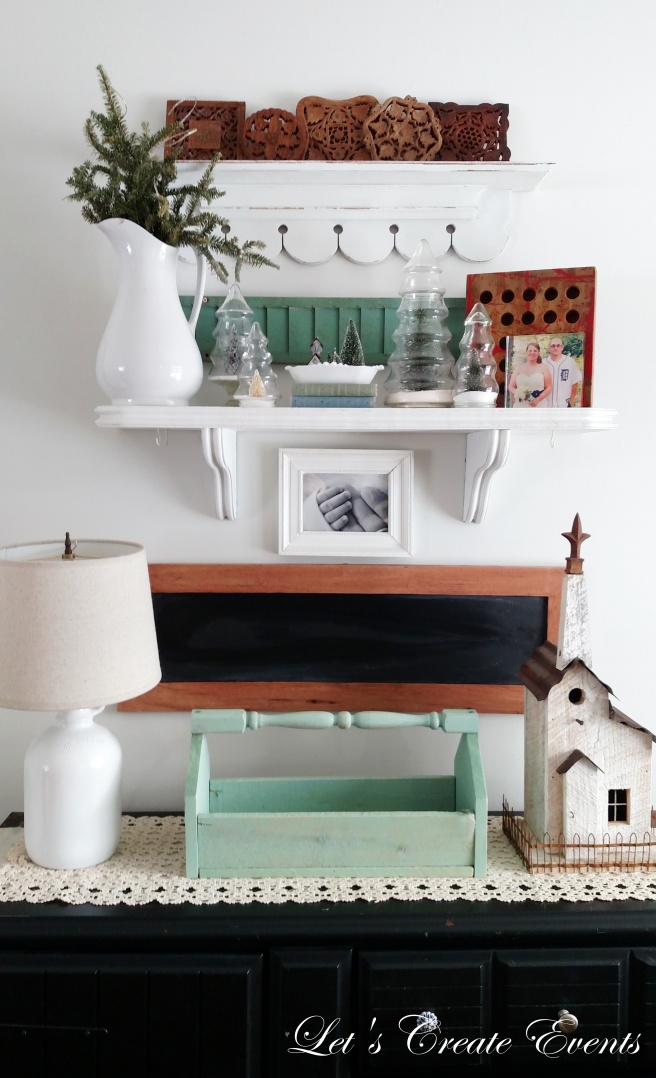
The last step in pulling the area together was by filling the middle space of the buffet. I added the third item of color to the area by adding one of my favorite spindle boxes.
Do you have a favorite formula when decorating areas of your home?
Thank you for stopping by!
I am sharing this post at…
DIY Show Off – A Stroll Thru Life – Home Stories A to Z – Savvy Southern Style
Colors and Craft – Tatertots & Jello – Pierced Pastimes – Practically Functional
Nifty Thrifty Things – Finding Silver Pennies – The Crafted Sparrow – Snap Creativity
Ginger Snap Crafts –Seeking Lavender Lane – Skip to My Lou – Homework
Making It In The Mountains – Joy In Our Home – Live Laugh Rowe – A Fresh Squeezed Life
Worthing Court – Design Dining Diapers – White House Crafts – Kingsbury Brook Farm
Redo It Yourself Inspirations – Small Home Soul – The SITS Girls – VMG206
One More Time – Denise Designed – The Crafting Nook – Little Farmstead


Love those shelves and all the cute accessories you pulled together! Thanks for sharing with us at Waste Not Wednesday Link Party!
LikeLike
Thank you Toni!
LikeLike
Thank you for the tips! You have a beautiful style! I love your vintage pieces!! Pinning 🙂
LikeLike
Great tutorial!!! I didn’t ever think about grouping things. Will have to give it a try!
LikeLike
Thank you!
LikeLike
What a beautiful vignette!
LikeLike
Great post. I love how you showed step-by-step how you choose items and groups them based on height, color, shape, etc. Thanks for sharing.
LikeLike
Thank you Carol!
LikeLike
Your shelves filled with vintage items is amazing. I am a vintage loving girl. Thank you for sharing at the Snickerdoodle Create~Bake~Make link party! I am featuring your shelves at Snickerdoodle today.
LikeLike
Thank you Sharon!
LikeLike
That’s a great walk thru how you did it. Love it! Thanks so much for sharing this with us at the DI & DI Link Party, loved seeing an sharing it. I tweeted, and pinned oh and shared it on G+ too. Hope it helps! 🙂
LikeLike
Thank you Christine!!!
LikeLike